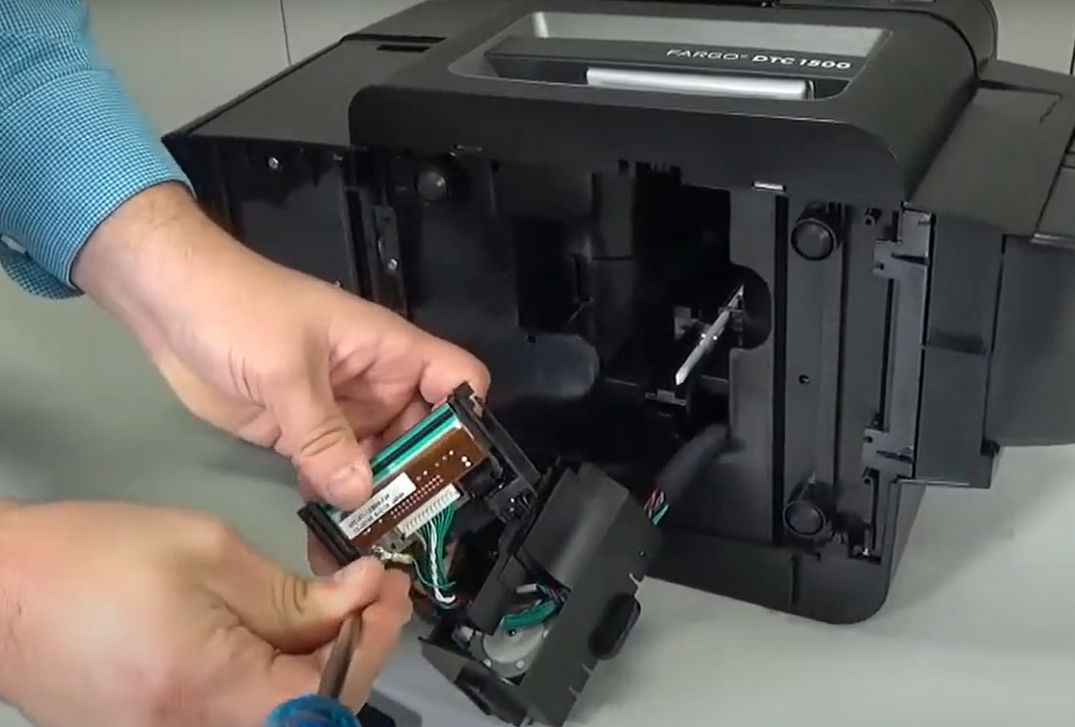
Over time, the print head of your Fargo DTC1500 printer may wear out and need replacement. Whether you're experiencing poor print quality or a hardware error, replacing the print head is a straightforward process if done carefully. Follow this step-by-step guide to safely and successfully replace the print head and get your printer back in top shape.
Tools You’ll Need:
-
Flathead screwdriver
-
Torx screwdriver (for ground cable screw)
-
Your new Fargo DTC1500 print head
Step 1: Power Down and Disconnect
Before doing anything, turn off the printer and disconnect both the power and USB cables for safety.
Step 2: Access the Print Head
-
Tilt the printer onto its back for easier access.
-
Remove the adhesive tape from the print head cover.
-
Use a flathead screwdriver to gently lift and remove the print head cover.
Step 3: Remove the Old Print Head
-
Pull the two plastic tabs inward and pull upward to loosen the print head.
-
Unlock the print head by moving the white push rod to the right.
-
Now you can pull the print head assembly upward and out of the printer.
-
While holding the print head mount, rotate the print head away from you to release it.
Step 4: Disconnect and Transfer Wires
-
Remove the Torx screw that secures the ground cable.
-
Gently disconnect the cable connector, being careful not to bend or damage the pins.
-
Connect the cables to your new print head, matching the previous configuration.
-
Make a note of the print head resistance value — this is usually printed on a label or etched on the part. You'll need this later during reconfiguration.
Step 5: Install the New Print Head
-
Reconnect the ground cable and secure it with the Torx screw you removed earlier.
-
Clip the new print head onto the mount.
-
Insert the print head mount assembly back into the printer.
-
Ensure that the white push rod is correctly positioned to the right side of the tab.
-
Replace the print head cover.
Step 6: Reconfigure the Printer Settings
-
Reconnect the power and USB cables, then turn the printer back on.
-
On your computer, click Start, then Devices and Printers.
-
Right-click on the DTC1500 card printer icon and select Printing Preferences.
-
Click the Toolbox button.
-
Go to the Advanced Settings tab.
-
Update the head resistance value with the one recorded from your new print head.
-
Click Apply, then OK.
All Set!
Your Fargo DTC1500 is now equipped with a new print head and ready to resume high-quality printing. If you encounter any issues during this process, consult your printer’s user manual or contact a certified service provider for assistance.
Need help or prefer a professional to handle it? Our technicians are experienced in Fargo printer repairs and can assist you with any step — just contact us for support.


