

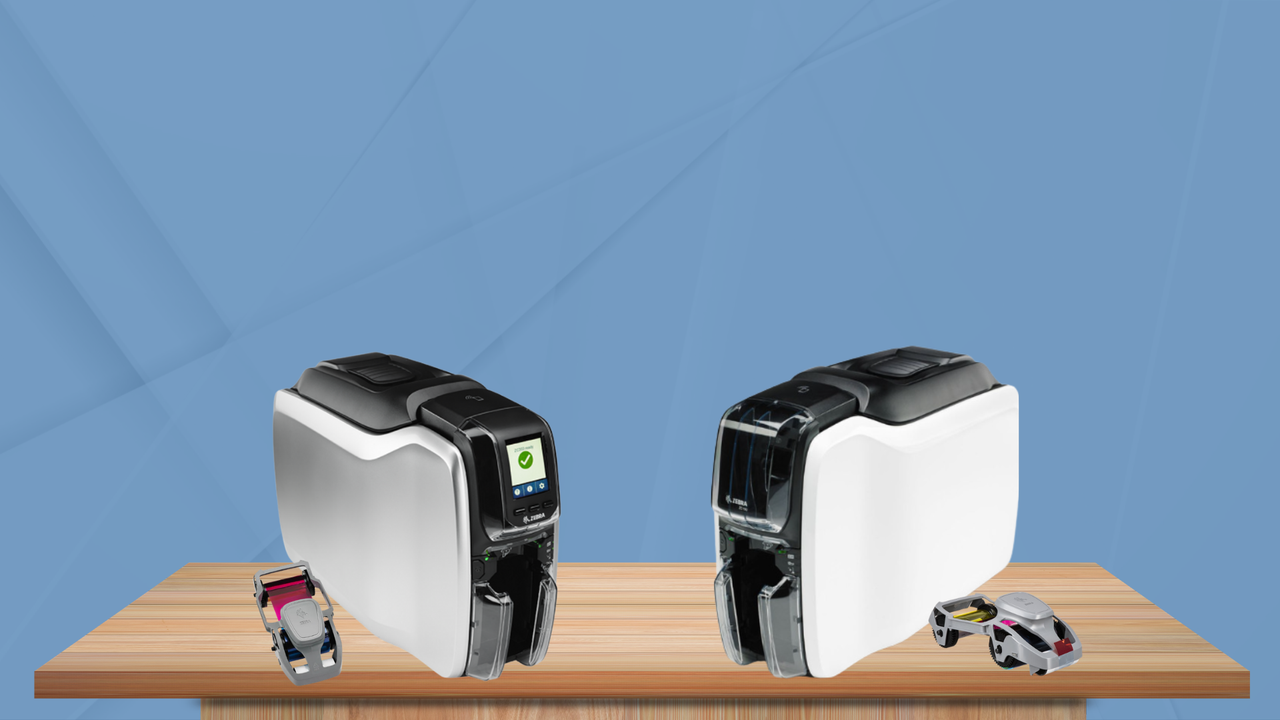
Replacing the ribbon in your Zebra ZC100 or Zebra ZC300 ID card printer is one of the easiest maintenance tasks you can perform, yet it is essential for producing sharp, professional-looking ID cards. Whether you've run out of ribbon or are switching to a different ribbon type, installing a new ribbon correctly helps prevent print quality issues and keeps your printer running efficiently.
Follow these simple steps to change the ribbon in your Zebra ZC100 or ZC300 printer.
Step 1: Remove the New Ribbon from Its Packaging
Carefully remove the ribbon cartridge from its packaging. Handle the ribbon by the cartridge whenever possible to avoid touching the ribbon surface, which can affect print quality.
Step 2: Remove the Cleaning Roller Protective Cover
Before installing the ribbon, remove the protective cover from the cleaning roller. This cover is designed to protect the adhesive roller during shipping and must be removed before use.
The cleaning roller helps remove dust and debris from blank cards before printing, reducing the chance of print defects.
Step 3: Remove Any Slack from the Ribbon
If the ribbon appears loose, gently rotate the take-up spool to remove any slack. The ribbon should be taut but not overly tight.
Also, make sure the ribbon is not sticking to the cleaning roller. If it is, carefully separate the ribbon so it can feed properly through the printer.
Step 4: Open the Printer
Open the top cover of the Zebra ZC100 or ZC300 printer. The printer is designed for quick ribbon changes, giving you easy access to the ribbon compartment.
Step 5: Install the Ribbon Cartridge
Insert the ribbon cartridge into the printer.
The cartridge is designed to fit in only the correct orientation and should easily drop into place. Never force the ribbon into position, as doing so could damage the cartridge or printer components.
Once properly installed, verify that the ribbon is seated securely.
Step 6: Close the Top Cover
Close the printer's top cover until it clicks into place.
The printer will automatically detect the installed ribbon and prepare it for printing. After initialization is complete, your Zebra printer is ready to print cards again.
Tips for Best Results
To maximize the life of your printer and maintain consistent print quality:
- Always use genuine Zebra ribbons designed for your ZC100 or ZC300 printer.
- Store ribbons in a cool, dry environment away from direct sunlight.
- Keep the printer clean by replacing cleaning rollers when recommended.
- Run a cleaning cycle periodically to help prevent dust buildup and print defects.
- Avoid touching the ribbon surface with your fingers.
Troubleshooting Ribbon Installation
If your printer does not recognize the ribbon after installation:
- Verify the ribbon cartridge is fully seated.
- Ensure all protective packaging has been removed.
- Check that the ribbon is not twisted or sticking to the cleaning roller.
- Open and close the printer cover to allow the printer to reinitialize the ribbon.
If the issue persists, inspect the ribbon for damage or try reinstalling it.
Need Help Replacing Your Zebra Ribbon?
Changing the ribbon on a Zebra ZC100 or ZC300 printer only takes a few minutes when done correctly. Proper installation helps ensure vibrant, high-quality ID cards while extending the life of your printer.
If you have questions about selecting the correct Zebra ribbon, troubleshooting ribbon errors, or maintaining your printer, contact us today and we can help you find the right supplies and keep your printer operating at its best.